2011-06-17

Turning, spinning, bumping...

My daughter is getting more and more skillful in turning, standing, sitting etc... Sometimes I find her with her legs on the pillow and her head in the middle of the crib as she loves to spin around now. High time to make a crib bumper!

I did not use any particular pattern for the bumper as I thought it should not be that difficult to make anyway. I took the measurements of the crib and through much trial and error managed to sew this Japanese style bumper.


Inside it has a pocket for books, toys or pacifiers.


Now my kid can bump around as much as she wants!

: pattern: my own

: fabrics: cotton fabric with Japanese dolls for the inside and lilac cotton fabric with circles for the outside (from Stoff & Stil). Also foam rubber for the interior panels and a velvet ribbon for the ties.

2011-06-15

in circles

Finally, I managed to sew a bodysuit for my baby. The pattern I came across in the latest Ottobre Design magazine was for a wrap bodysuit, so I made it (although my daughter is getting too big to be wrapped).


It was not easy to attach the bindings without a coverstitch machine... I used my regular sewing machine and a twin needle - it just took more time. I made a little mistake when attaching the binding to the collar, but otherwise I am quite pleased with the overall result. Not bad for a first try!

: pattern: Ottobre Design 3/2011
: fabrics: Gekko's white jersey with brown circles (JNYDesign) and yellow binding.

Angry bird

I have discovered a whole new world to me: amigurumi. It is so cool what one can crochet... It seems that sky is the limit.

The first amigurumi I made was the red Angry bird. (You might see more of them in the future as I have an idea to make a pram toy of Angry birds for my daughter...)


2011-06-06

clouds in the sky

Here is the latest addition to my collection of canopies. I love the fabric: it is so dreamy with the white clouds but at the same time the red backgrounds adds some spice!


This time it went even smoother with sewing. And I paid more attention to the finishing, therefore I am happy with the final effect.

: fabrics: white clouds on the red background by JNYDesign and cobalt blue beaver nylon for the lining (Stoff & Stil). Plus yellow and blue bias tapes.

2011-06-04

Make your own bugaboo canopy!

If you want to create your own Bugaboo Cameleon canopy,  here's the way I do it (inspired by Mamma på vift).

You will need:
- the outer fabrics: 1m (if it is at least 110 cm wide)
- the lining: also 1m (if it is 150cm wide)
- bias tape: around 4m
- elastic for the small loops

The pattern:
The easiest way to make the pattern is to pin some old fabrics (for example an old sheet) to your original canopy (when it is unfolded on the stroller) and draw the lines along the seams. As a reference, you can see my measurements for the patterns, but please add approx. 1 cm for the seam allowance.


Here I use red cloud fabric for the outside of my canopy and a cobalt blue beaver nylon for the lining. For the lining you will need TWO tops in order to make the channels. From one of them you should cut some 10 cm out from both edges (1a and 2a).


The tutorial:
1. Fold and stitch both ends of 2a to get a nice finish.

2. Stitch 2a and 1a together.

3. Now you want to create the slots for the canopy frames. In order to do that just make a stitch some 5 cm from the edges of the fabric.

4. Sew together the outside fabric with the lining (1a+2a together with 1b, 3a together with 3b and 4a together with 4b).

5. Pin all the parts (1, 3 and 4) together.

6. Try it on your pram and make any adjustments if necessary. Then stitch all the parts together.

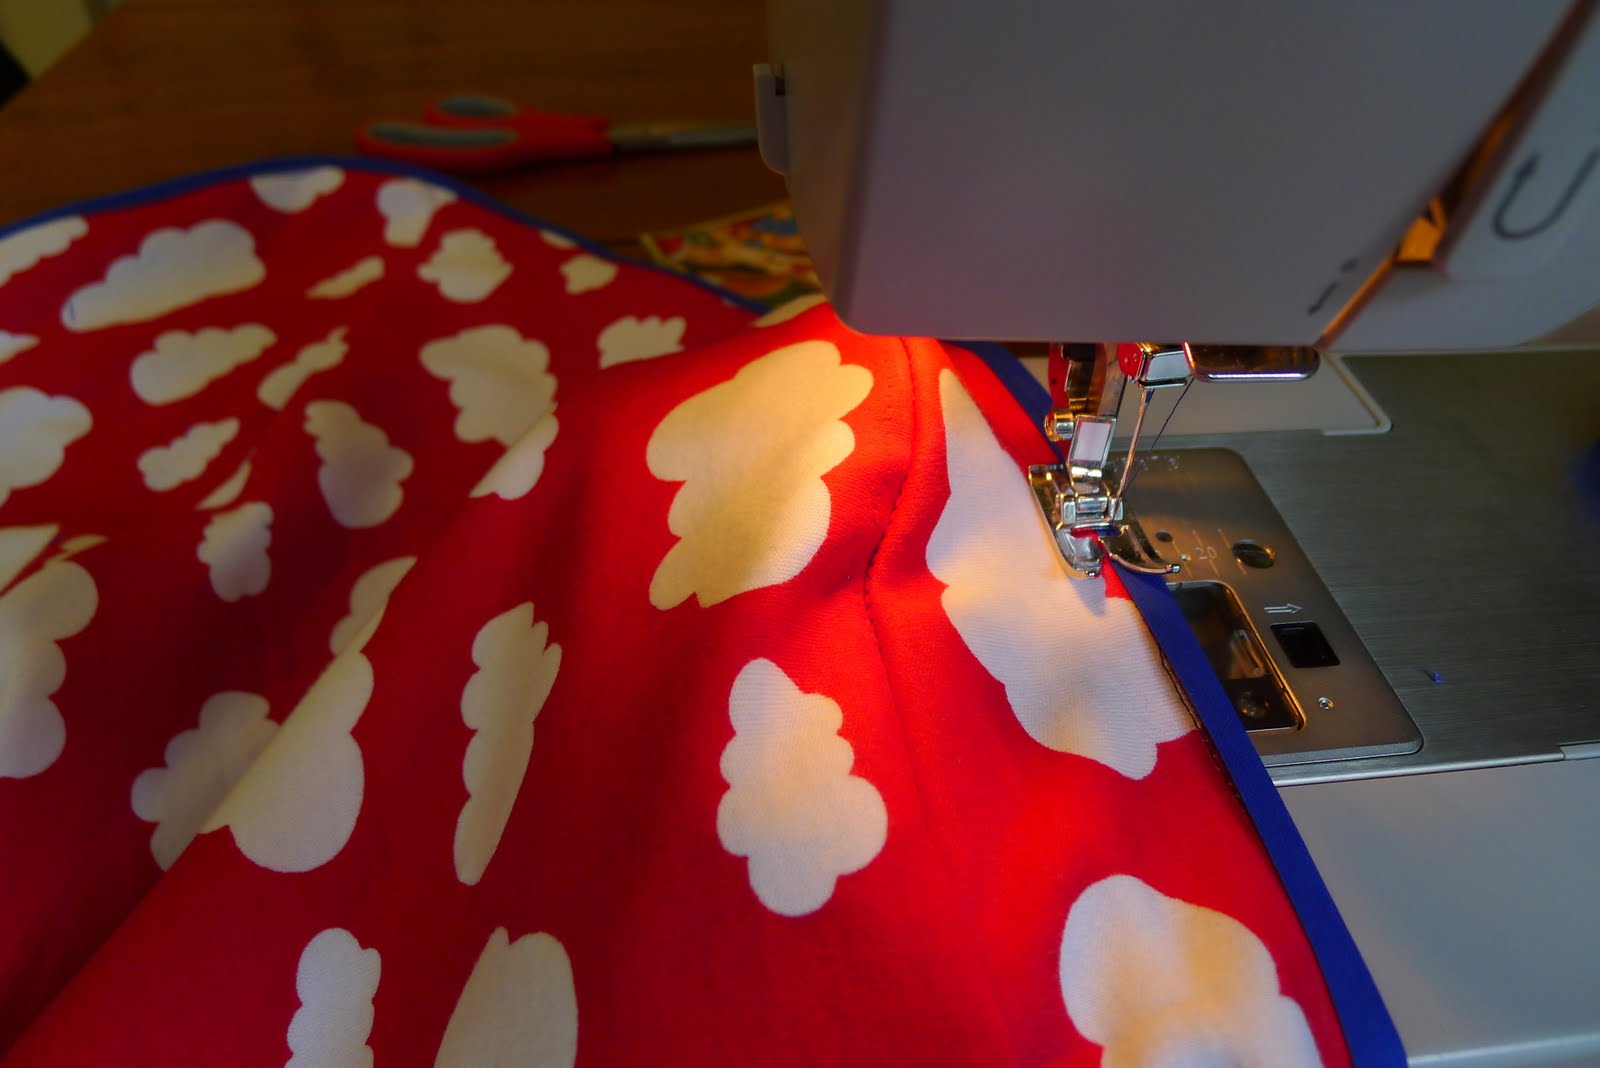
7. Stitch the bias tape in order to cover the inside seams as well as to neatly finish the outside edges around your canopy. Don't forget to create small loops from the elastic (to be attached to the hooks on your Bugaboo).


8. Pronto! Your custom canopy for Bugaboo is done!